
0.1 Creating a project
1. The editor
2. On the right track
2.1 Quick start
2.2 The basics
2.3 The track context tabs
2.4 Flex track
2.5 Heights and slopes
2.6 Advanced track planning
3. Working the room
2.1 Quick start
Just to help you make a first start, follow these steps:
1. Select a library
Go to the 'track' tab, locate the 'Library' group at the left. In this group you see a small pencil.
Click it to get the list of available libraries:
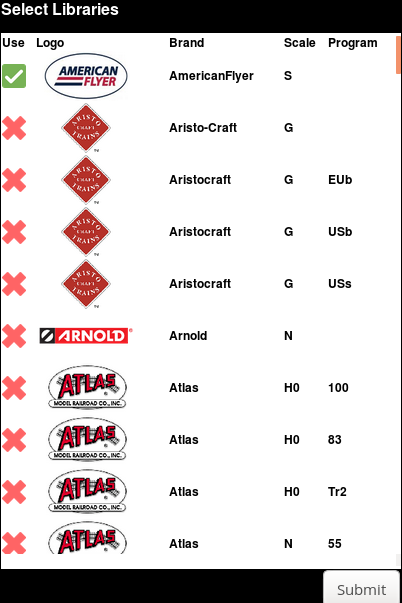
Now choose your prefered library and select it by clicking the red cross in front of it. Click to submit to continue.
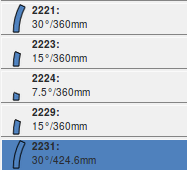
2. In the track menu, on the left side, click on a track piece.
3. In the editor, double click somewhere on the screen.
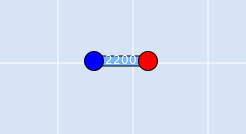
The track piece you just selected will now be the first piece of track of your layout. On both ends you will see a dot. One of these dots will be blue, the other will be red. The red one is your selected section end.
4. Double click the red dot.
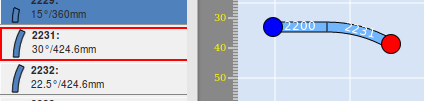
A new piece of track will be connected. Note this is the track piece selected in the track list.
5. repeat step 1 to 3 at another location in the editor.
You will now have two sections of track. Each of them will have dots on both section ends. Let's see if we can combine them to one section:
6. Move the second track section by dragging one of the dots.
7. Drop the dot on a dot of the first section.
Now the two sections will be connected. The second section will be rotated in the right direction.